

So you want to know how to screenshot on Windows laptop. Sounds like the easiest thing in the world, right? Yeah. Until the exact moment you need to do it and your mind just… blanks.
Let me tell you what happened to me last week. Friend calls me up. Says hey, bro, just send me a quick screenshot of that error on your screen. Easy. Two seconds. Except I sat there mashing keys like a total fool. PrtScn? No. Windows key? Nope. Both together maybe? Still nothing. He’s waiting on the call. I’m sweating. Embarrassing, honestly.
That’s when I decided fine, I’m writing all of this down once and for all. Every method. The fast ones, the lazy ones, the fancy ones. Save this page somewhere. You WILL forget again. Everybody does. I forget like every two months and I literally wrote a guide on it.
1. The Fastest Way — Windows Key + Shift + S
Okay if you read nothing else, read this part.
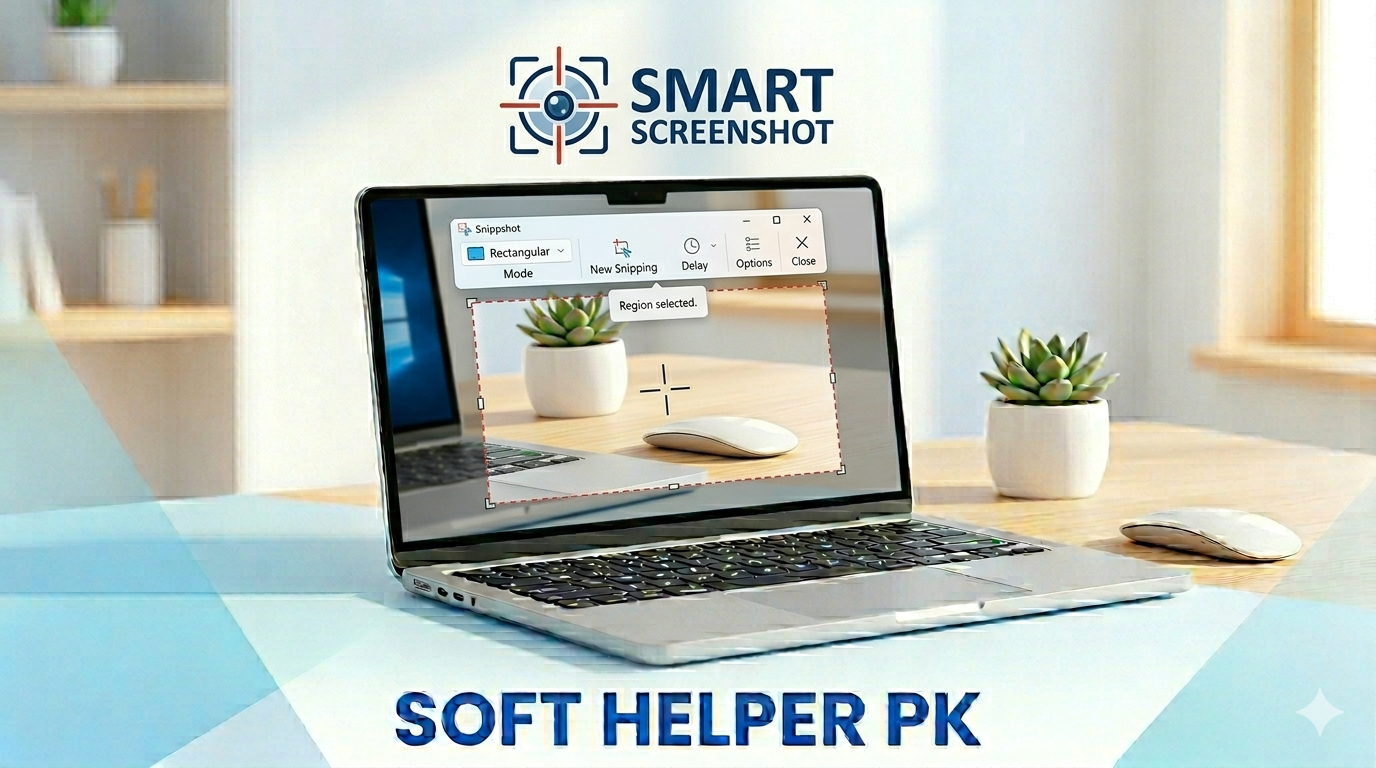
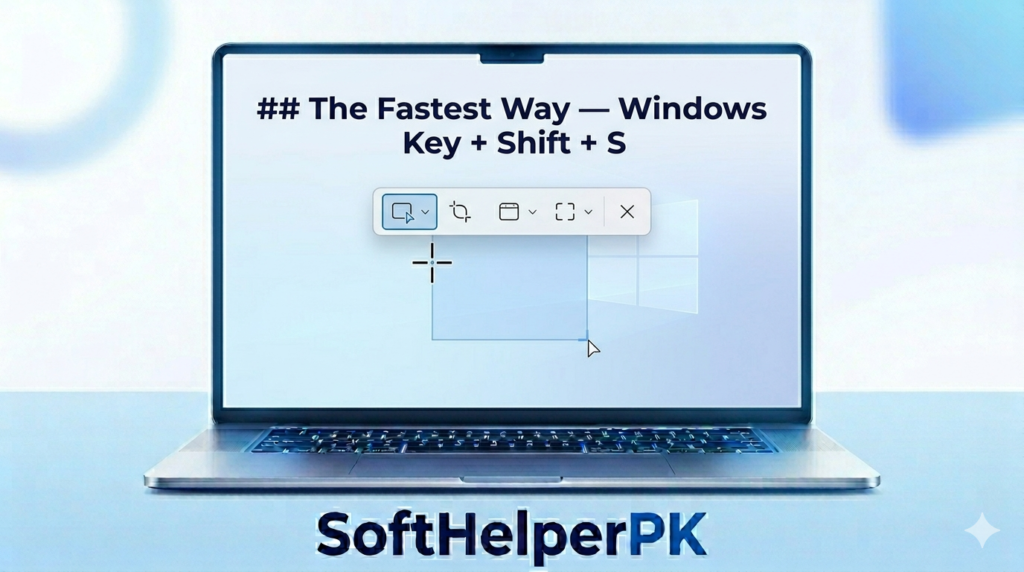
Press Windows + Shift + S all together. Screen goes a little dim. A tiny toolbar shows up at the top. Your mouse turns into a plus sign thing. Now just drag a box around whatever you want. Boom. Captured. It goes straight to your clipboard.
Then paste it wherever. Word, WhatsApp, an email, doesn’t matter. Just hit Ctrl + V. That’s it. This is the Snipping Tool quick mode and for like 90% of people this is literally all they ever need.
Oh and there’s a little preview thingy that pops in the corner after. Tap it and you can scribble on it, crop it, save it. Pretty handy actually.
2. How to Screenshot on Windows Laptop Using PrtScn
Now the old school way.
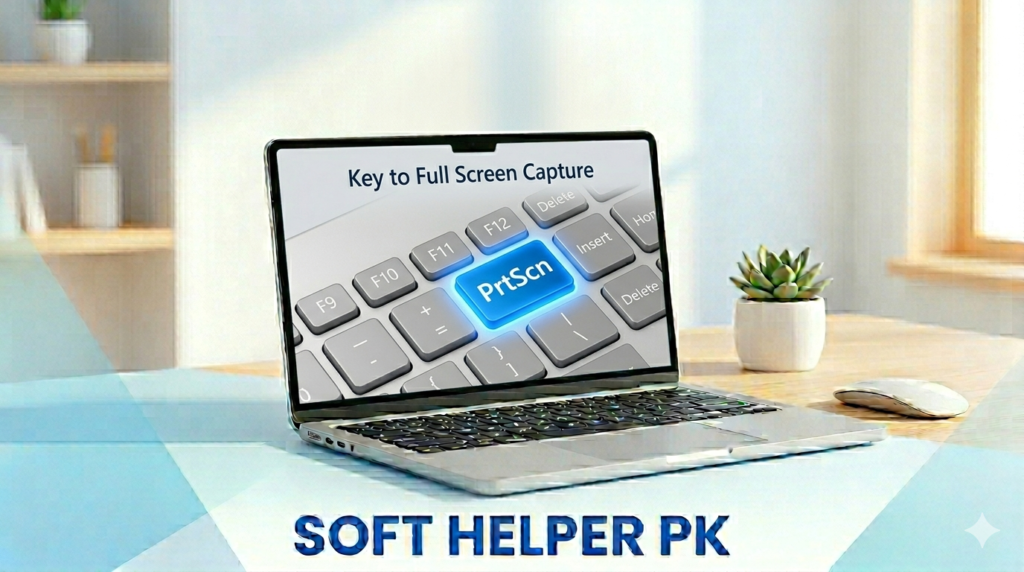
Somewhere top right on your keyboard there’s a key. Says PrtScn or Print Screen. Press it once. It grabs the whole screen and dumps it in your clipboard.
Here’s the thing that confuses everyone. Nothing happens. No flash. No sound. No nothing. So people assume it broke. It didn’t. The image is just sitting there in the clipboard, quietly. Paste it with Ctrl + V and there it is.
Want it saved as an actual file automatically? Press Windows + PrtScn instead. Screen dims for a sec, and the picture saves itself into a Screenshots folder inside your Pictures. No pasting, no fuss.
And say you only want the one window you’re working in, not the whole messy screen. Then it’s Alt + PrtScn. Grabs just that active window. Clean.
3. Using the Snipping Tool App
Windows has had a real Snipping Tool app for ages now. And honestly the newer one is pretty solid.
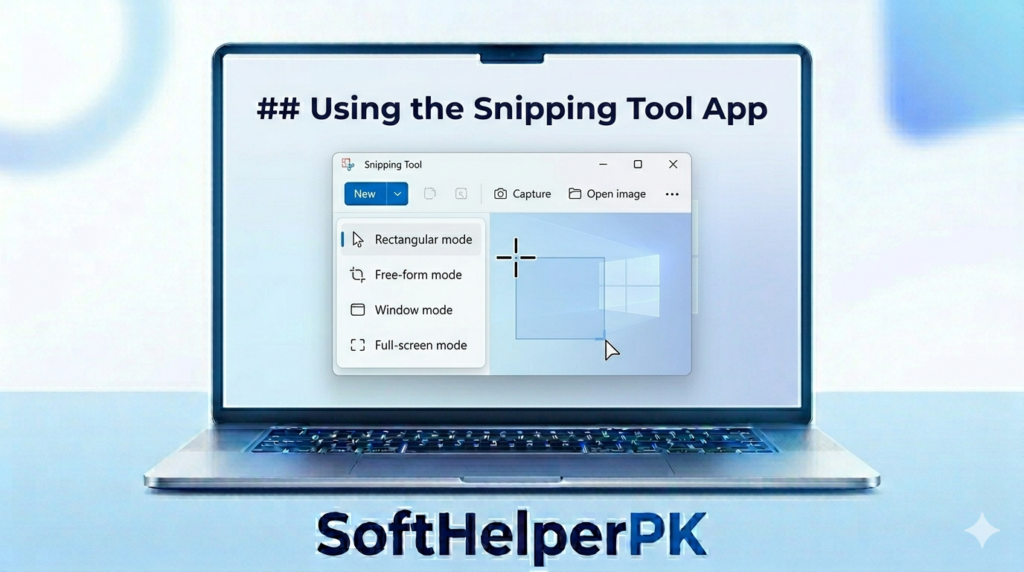
Just type “Snipping Tool” in your Start menu and open it up. You get rectangle, freeform, full window, full screen, all the options. There’s even a delay timer. Super useful when you’re trying to capture some menu that vanishes the second you click somewhere else. Been there, very annoying.
One thing nobody seems to know: the new version also records your screen as a video. Yep. So if you ever need a screen recording and not just a picture, you don’t even have to download anything extra.
For Better Screenshots — Free Tools Worth Getting
The built-in ways to screenshot on Windows laptop are fine for quick grabs. But say you’re taking screenshots all day long.
4. ShareX — The Power User Pick

ShareX is free, open-source, and absolutely loaded. Capture any region you want, scrolling captures for those long web pages, auto uploads, annotations, the works. First time you open it, yeah, it looks a bit much. But set it up once and it’s genuinely amazing. You can grab it from getsharex.com.
5. Greenshot — Simple and Light
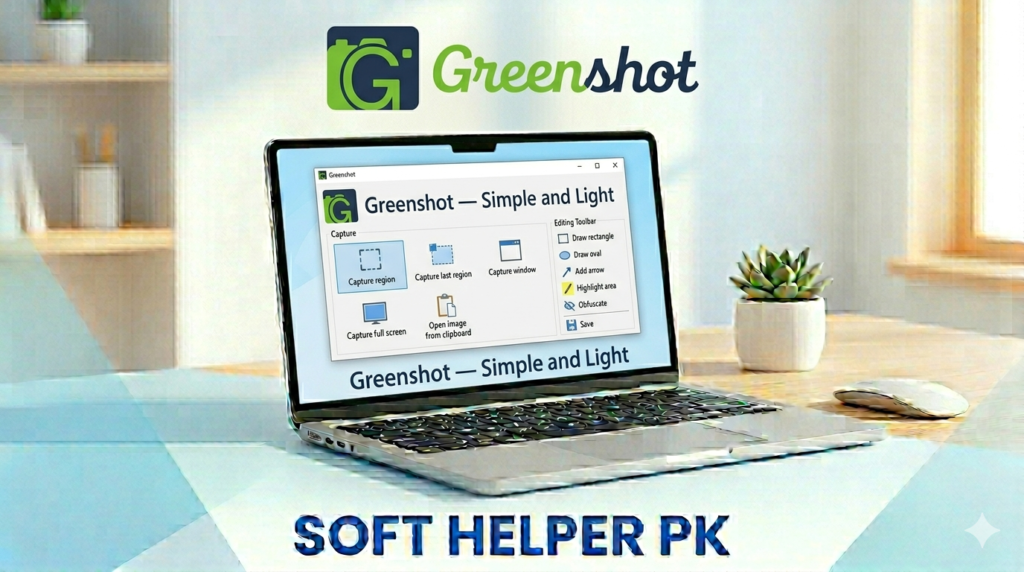
If ShareX is too much for you, Greenshot is the chill option. Light, free, just does the basics really nicely. Capture, scribble on it, save, move on. Get it from getgreenshot.org.
There’s no single best way to screenshot on Windows laptop — it depends what you’re doing.
Which Method Should You Actually Use
Don’t make this complicated. Quick one-off grab? Windows + Shift + S, every time. Want the whole screen saved instantly? Windows + PrtScn. Doing this all day or need extra power? Then ShareX or Greenshot.
There’s no single best way to screenshot on Windows laptop — it depends what you’re doing.
You really don’t have to memorize all this. Just drill Windows + Shift + S into your head and you’ve basically got every normal situation covered. The rest are just there for when you need ’em.
There’s no single best way to screenshot on Windows laptop — it depends what you’re doing.
6. A Few Handy Tips
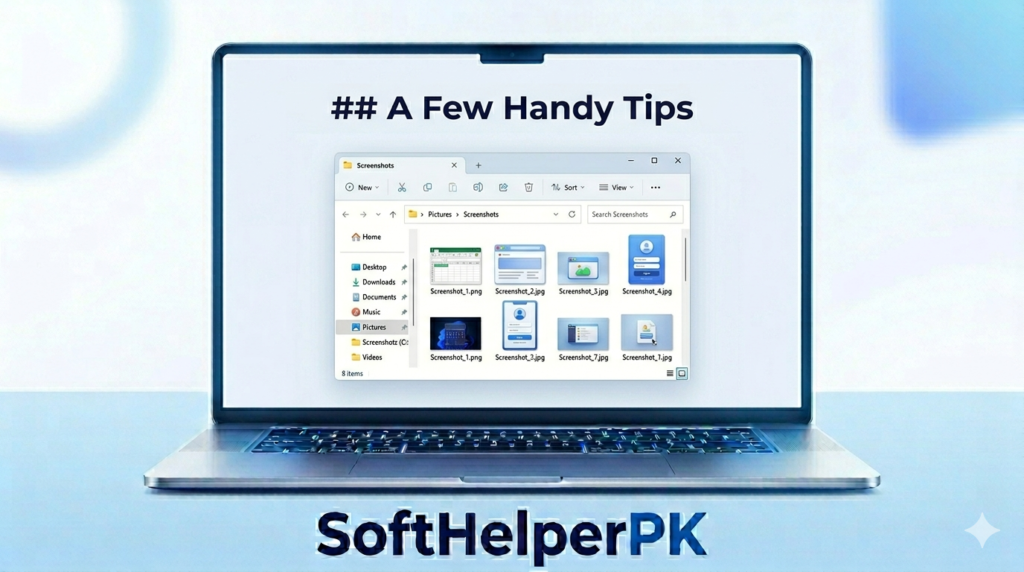
Those screenshots you save with Windows + PrtScn? They land in Pictures, in a folder literally called Screenshots. So if you ever take one and then can’t find the dumb thing, that’s the first place to check. Always.
If you’re grabbing all these screenshots to make tutorials or videos, you’ll probably want a real screen recorder too at some point. I made a whole guide on free screen recorders that goes nicely with this one. And if you need to clean up a screenshot before sending it, removing the background from an image comes in handy more than you’d think.
Final Thoughts
Taking a screenshot. One of those silly little skills that feels like nothing, right up until you need it and totally blank out. Like I did. On a call. In front of a friend. Great memory.
Anyway, now it’s all here in one spot. Drill Windows + Shift + S into your brain and you’ll pretty much never get stuck again. And if you ever want more muscle, ShareX and Greenshot are right there. Free. Waiting.
Now you know how to screenshot on Windows laptop every possible way, all in one spot.